For those interested in designing and making jewelry, it’s important to understand how the jewelry manufacturing process works. This knowledge will help you to get a feel for how much time and money you might invest in crafting fine jewelry.
Let’s go over the six steps of the jewelry manufacturing process.
1. Design a 3D Jewelry Model
Once you have a sketch of the piece of jewelry you’d like to make, it’s time to use Computer Aided Design (CAD) software to develop a digital version.
Having a 3D model will allow you to visualize the finished jewelry design and give you a change to make any updates before moving on to the next step in the jewelry manufacturing process.
2. Print a 3D Wax Jewelry Model
The model that was created using CAD software will also be used to make a 3D wax mold of your jewelry. Most jewelers use a 3D printer to create this model, which will also be used in the next step of the jewelry making process.
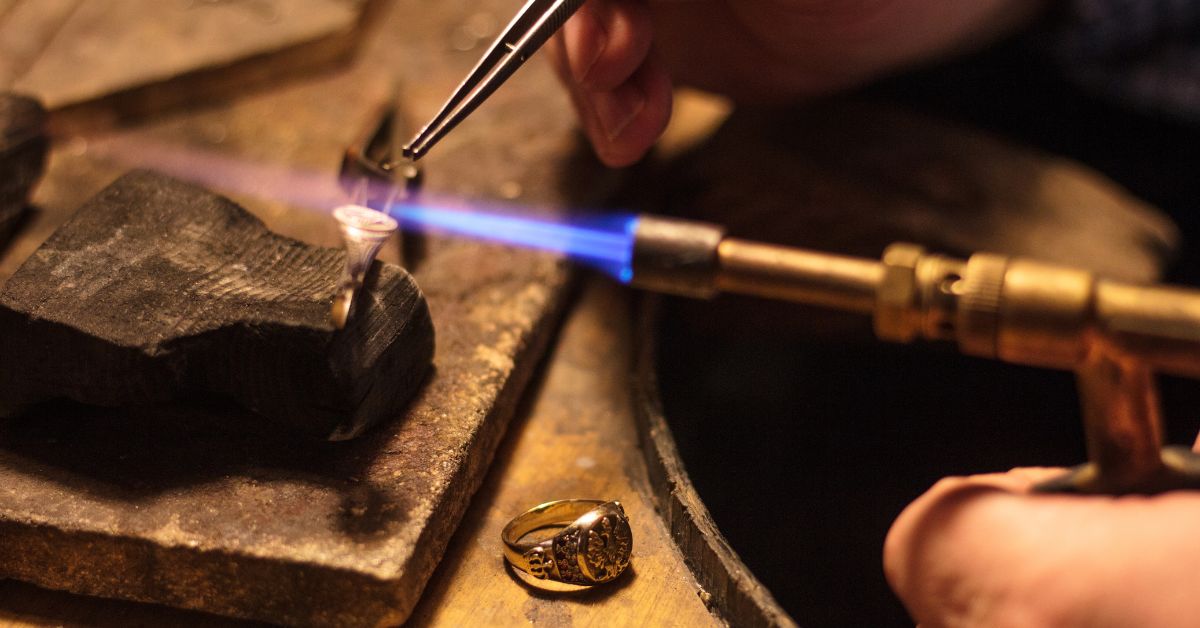
3. Pour Molten Metal into the Jewelry Mold
It’s now time for the casting stage of manufacturing your jewelry design. After choosing a precious metal to use, it’s melted down to its liquid form and poured into the 3D wax mold.
In this process, called “lost wax casting,” the wax melts away and the gold, silver, platinum, or other precious metal hardens into the shape of your jewelry design.
4. Refine the Main Jewelry Structure
After casting is complete, the piece of jewelry will need to be filed to remove any rough edges. This is also the time for adding any desired clasps or other functional jewelry elements, as well as making any aesthetic adjustments.
For most jewelers, the final fabrication process for a piece of jewelry can take anywhere from three days to a month – which makes this stage crucial in managing the jewelry making timeframe.
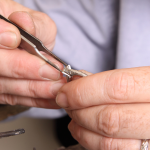
5. Set Any Desired Stones into the Jewelry
It’s now time to add any natural or synthetic gemstones to your jewelry. A microscope and specialized tools are needed for this step, especially if you plan to add side stones to your jewelry piece.
6. Finish and Polish the Jewelry
In the last stage of the jewelry making process, you want to ensure that your piece is polished to a high shine. This is also the time for adding any engraving or metal stamping.
Finally, it’s time to put the jewelry through a thorough quality assurance process by inspecting the piece for any flaws, loose stones, or rough edges.